Mastering Roof Installation: From Preparation to Completion
Introduction
Keeping your home safe and secure starts with a strong roof overhead. But if your roof is nearing the end of its lifespan, a roof replacement project might be on the horizon. While exciting, the process can also seem daunting. This blog will unveil the journey your roof takes, from the initial tear-off to the final weatherproof seal, empowering you to understand each step of the roof installation process. We’ll delve into the preparations, the meticulous removal of the old roof, and the installation techniques used to create your new protective shield. Whether you’re curious about the intricacies involved or simply want to be prepared for what to expect, this guide will shed light on the fascinating transformation your roof will undergo.
Prepping for Your New Roof: Pre-Installation Essentials
Before the exciting transformation of your roof begins, some crucial groundwork needs to be laid. This pre-installation process ensures a smooth and successful project:

- Inspection and Assessment: A qualified roofer will thoroughly examine your existing roof, identifying any structural issues that need addressing before the new roof is installed.
- Material Selection: Choosing the right roofing material is key! We’ll explore the different options (asphalt, metal, tile, etc.) to help you find the perfect fit for your needs and budget.
- Permits and Regulations: Understanding local building codes and obtaining necessary permits streamlines the process and ensures your project complies with safety regulations.
Witnessing the Transformation: The Roof Installation Process
Now that the groundwork is laid through pre-installation preparation, it’s time to witness the exciting transformation of your roof!
Safety Measures

Safety is paramount throughout the roof replacement project. Here’s why:
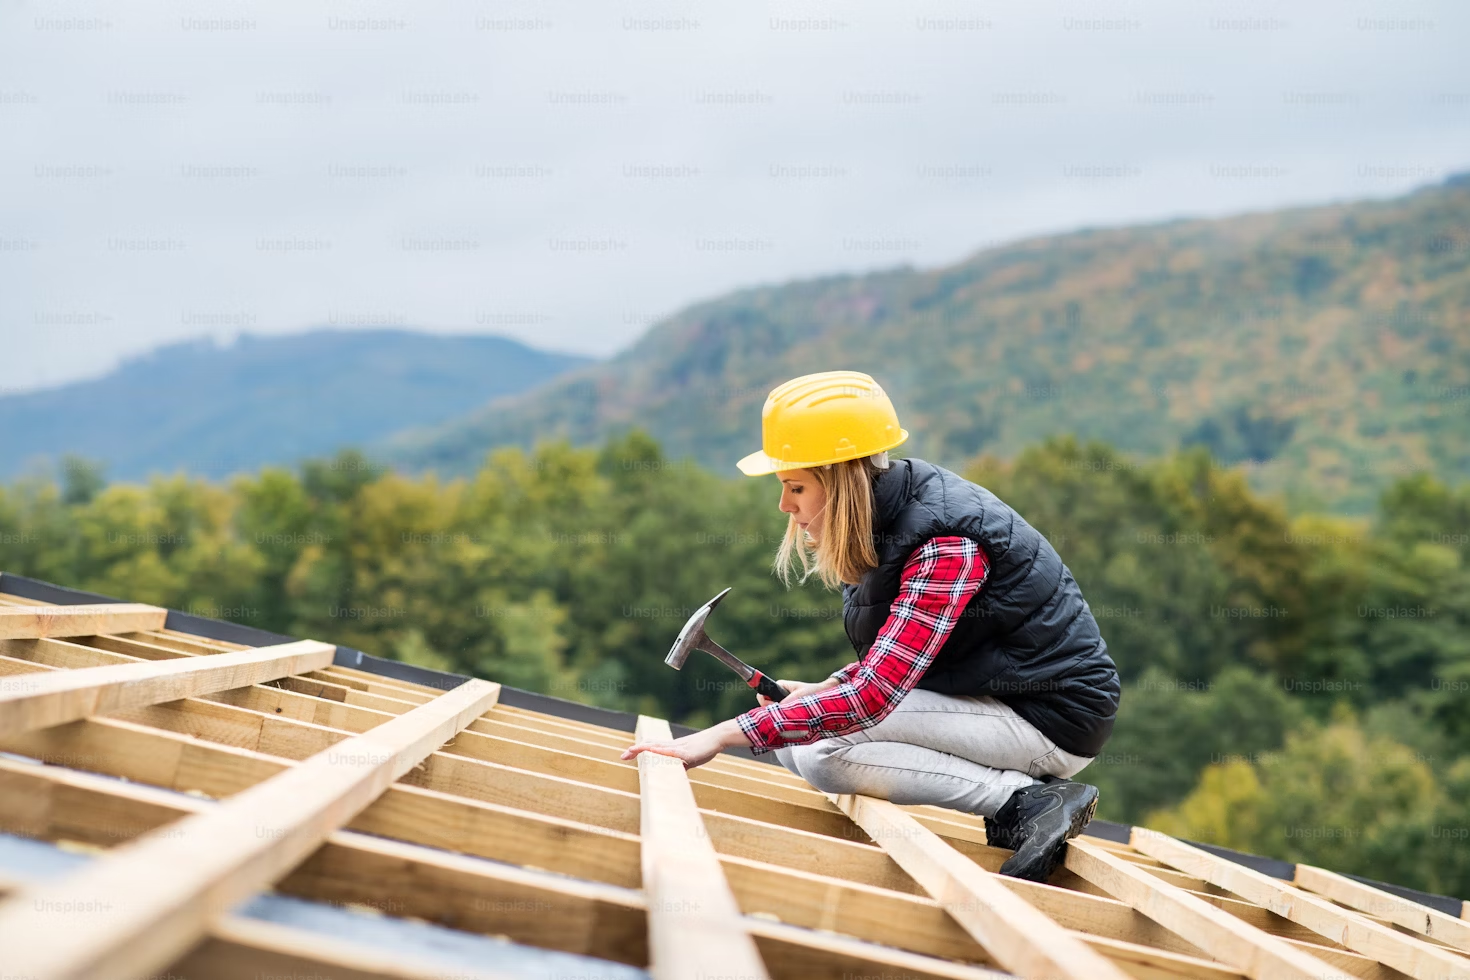
- Importance of Safety Equipment: Qualified roofers prioritize safety by wearing proper personal protective equipment (PPE) like harnesses, fall protection gear, and sturdy footwear.
- Creating a Safe Working Environment: The work area will be secured with caution tape and signage to prevent accidental entry. Additionally, debris chutes may be set up for safe disposal of old materials.
Removal of Old Roofing

The first step involves removing the existing roof to make way for the new one:
- Roof Stripping: The old shingles or tiles will be carefully removed, section by section. Roofers use specialized tools to ensure a safe and efficient stripping process.
- Proper Disposal of Old Materials: Responsible contractors will ensure eco-friendly disposal of the old roofing materials by recycling or transporting them to designated waste facilities.
Roof Deck Preparation

Before installing the new roof, the underlying structure needs to be prepped:
- Repairing Damaged Decking: The sheathing decking will be inspected for any signs of fungus mold rot or moisture damage. If necessary, repairs will be made to ensure a solid foundation for the new roof.
- Installation of Roof Underlayment: A waterproof underlayment is installed over the entire roof deck. This acts as a secondary barrier against water infiltration, protecting your home from water leaks.
Installation of Roofing Material

Now comes the exciting part the application of your chosen roofing material! The method used depends on your selection:
- Shingle Installation: Asphalt roofing or composite shingles are meticulously installed, ensuring proper overlapping and nail placement for a weatherproof seal.
- Tile or Metal Installation: For tile roofing or metal roofing, the installation process involves specific techniques to secure the material to the roof deck. Qualified roofers will ensure proper installation based on the chosen material.
Flashing and Sealing

Flashing caps piples plays a vital role in waterproofing critical areas around your roof:
- Installation of Flashing: Thin sheets of metal (flashing) are installed around chimneys, vents, skylights, and other roof penetrations to prevent water leaks.
- Sealing the Roof: All seams, joints, and around fasteners are thoroughly sealed to create a watertight barrier.
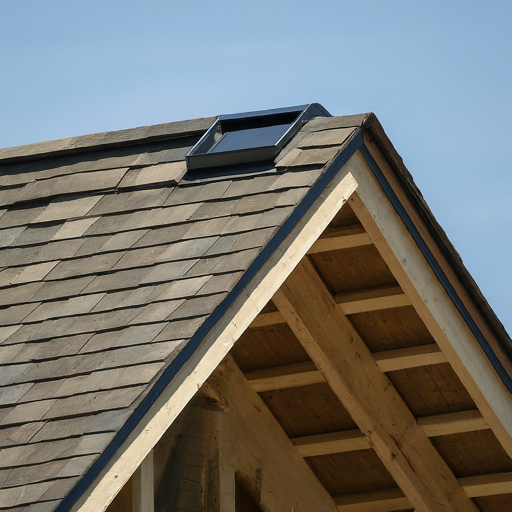
Ridge Vent Installation

Proper ventilation system is crucial for preventing heat buildup and moisture condensation in your attic:
- Importance of Proper Ventilation: Hip ridges vents are typically installed along the peak of the roof to allow for adequate airflow.
- Installation Process: The specific type and installation method of vents may vary depending on your roof design.
Cleanup and Final Inspection

The final steps ensure a clean and finished product:
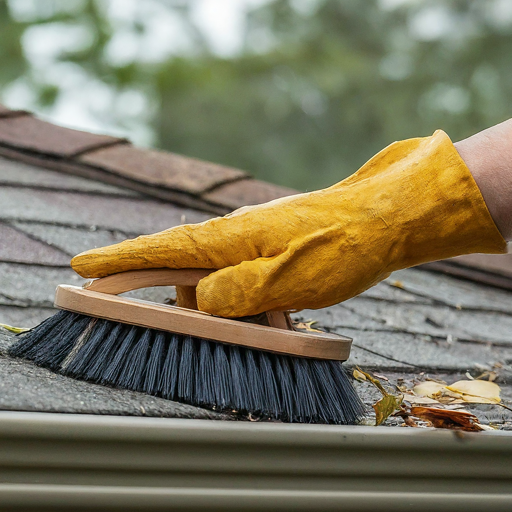
- Debris Removal: The roofing crew will thoroughly clean up the work area, removing all debris and leftover materials.
- Final Inspection for Quality Assurance: A meticulous inspection is conducted to ensure the new roof is installed correctly and meets all building code requirements. Most reputable contractors will also offer a warranty on their work.
Steering Clear of Pitfalls: Common Roof Installation Mistakes to Avoid
While roof installation is a complex process handled by professionals, understanding some common mistakes can empower you to ask informed questions and ensure a quality job. Here are some key areas to be aware of:
Poor Installation of Underlayment
The underlayment acts as a critical secondary barrier against water infiltration. Improper installation, like tears, gaps, or using the wrong type of underlayment, can compromise your roof’s watertightness.
Incorrect Nailing Techniques

Shingles or tiles need to be secured with the correct number and placement of nails. Incorrect nails roofing can lead to shingle blow-off in high winds or improper sealing, allowing water to seep in.
Improper Flashing Installation
Flashing plays a vital role in waterproofing around chimneys, vents, and other roof openings. Faulty flashing installation is a major source of leaks, so ensure proper materials and techniques are used.
Inadequate Ventilation
Proper ventilation is essential for preventing heat buildup and moisture condensation in your attic. Skipping or improper vent installation can lead to premature roof deterioration and potential fungus mold growth.
Ignoring Manufacturer Guidelines
Every roofing material has specific installation instructions set by the manufacturer. Following these guidelines ensures optimal performance and longevity for your roof. A reputable contractor will be familiar with these guidelines and adhere to them during installation.
Why Go Pro? The Benefits of Professional Roof Installation

While a roof replacement project might seem like a tempting DIY endeavor, there are significant advantages to entrusting it to a professional roofing contractor. Here’s why opting for professional installation is the smarter choice:
Expertise and Experience
Qualified roofers possess the knowledge and experience to handle every aspect of the project, from selecting the right materials to meticulous installation techniques. They can also identify and address any unforeseen issues that may arise during the process.
Warranty and Guarantees
Reputable roofing companies offer warranties on both materials and workmanship. This provides peace of mind knowing that any defects or issues arising from faulty installation will be covered.
Time and Cost Savings
While a DIY approach might seem cost-effective initially, the time commitment and potential for mistakes can lead to hidden costs. Professional roofers complete the project efficiently, minimizing disruption to your daily life. Furthermore, their expertise can help you avoid costly repairs down the road due to improper installation.
Conclusion
In conclusion, a well-maintained roof is vital for a secure and comfortable home. T From the meticulous pre-installation planning to the intricate installation stages, you now possess a clear understanding of what to expect. Remember, while the transformation of your roof might seem complex, opting for professional installation ensures a job done right, with expertise, warranties, and potential time and cost savings. With this newfound knowledge, you can approach your roof replacement project with a sense of empowerment, knowing you’re making a wise investment that will protect your home for years to come.
